2700 E Magnolia Dr. Gilbert AZ 85298
Phone 602 995 5311
[ Home ] [ Products ] [ Ordering ] [ Shipping ] [ About Us ] [ Contact Us ] [ Back ]
Search the Store by Description, Year, Model or
SEARCH BY STUDEBAKER PART NUMBER
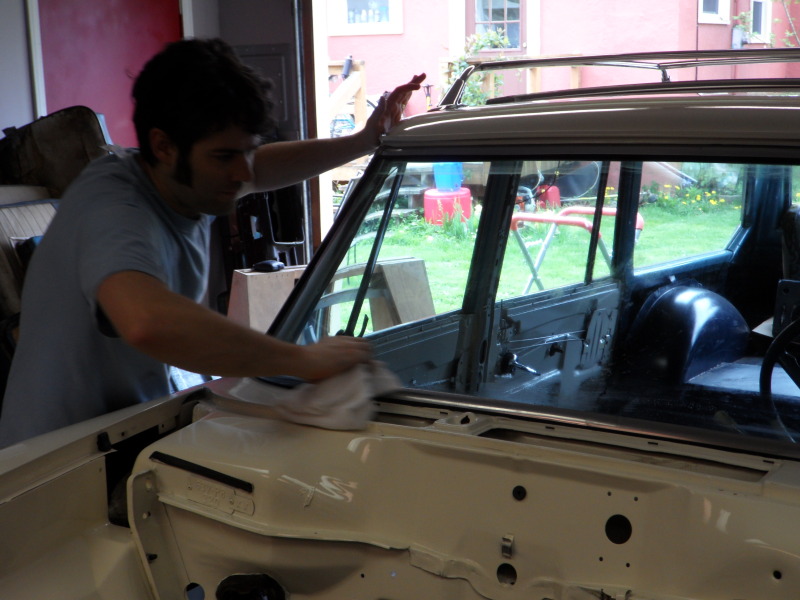
WAGONAIRE WINDSHIELD INSTALL by DICK STEINKEMP
Adam showed up right on time and test fit the new gasket to the windshield
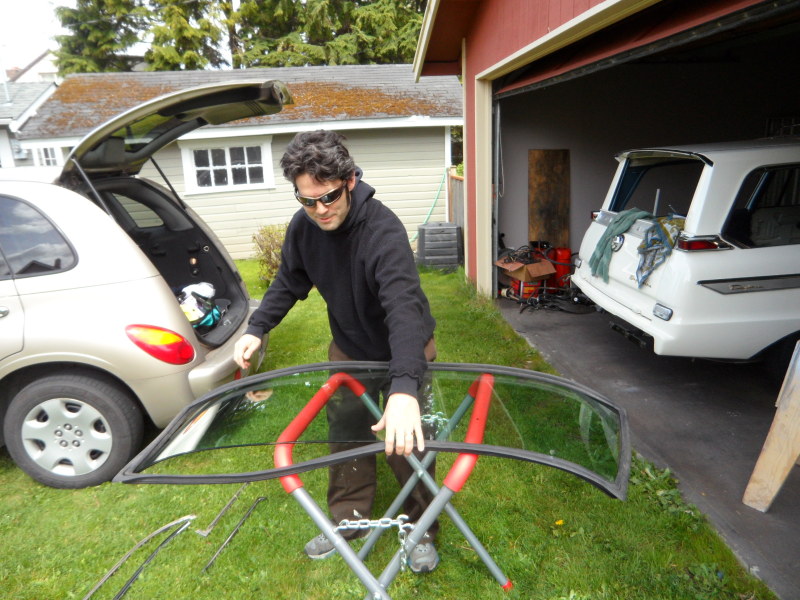
When he was satisfied that the gasket was correct, he inserted the stainless trim into it
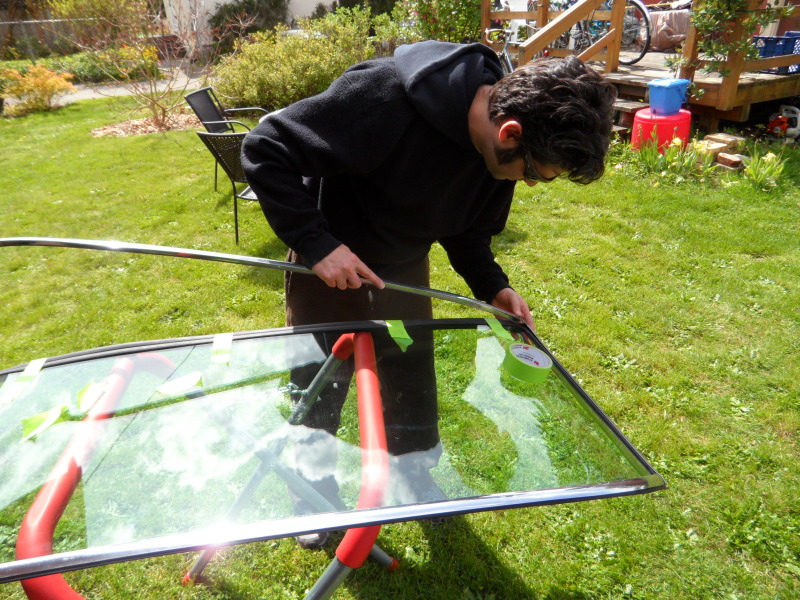
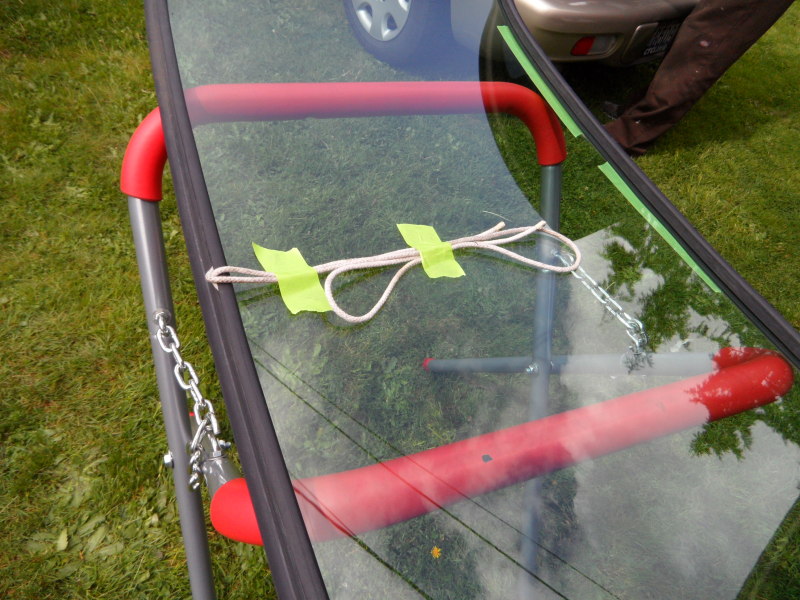
And taped the gasket to the window in several spots to insure it stayed in place
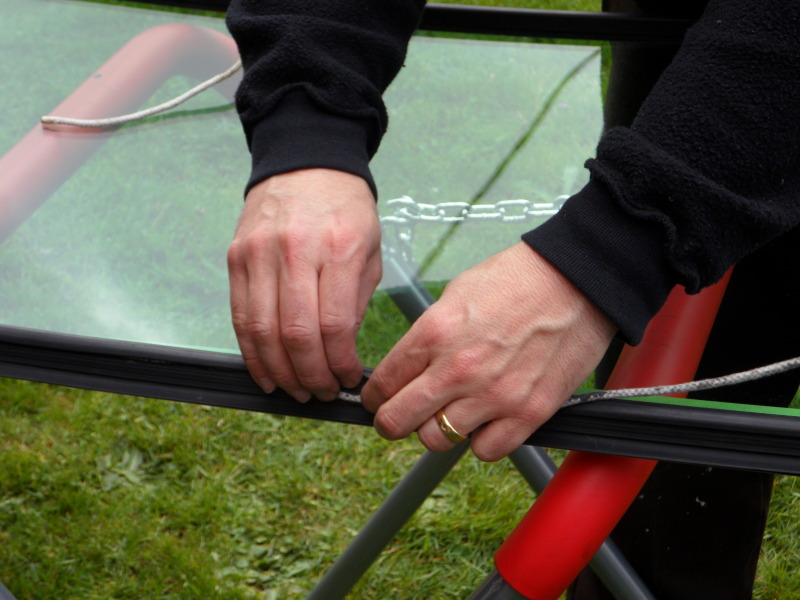
Then he inserted the rope into the channel that would fit into the opening in the body
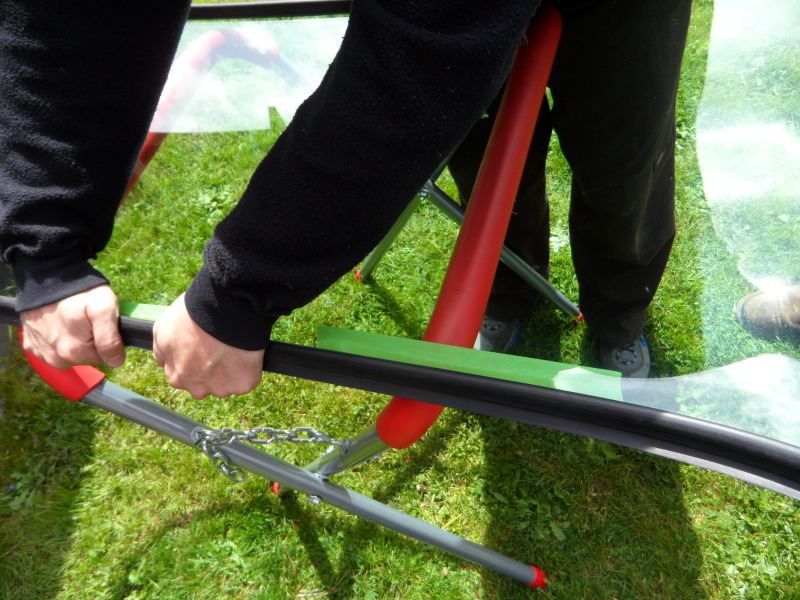
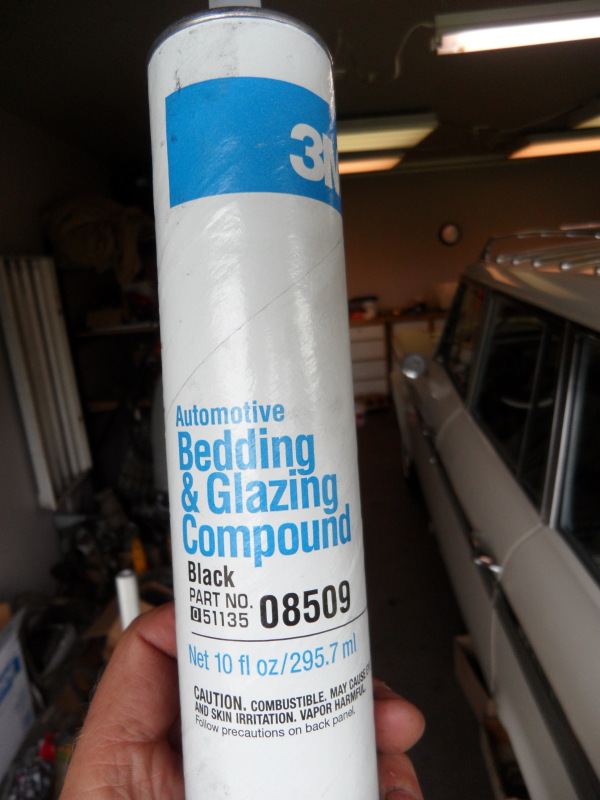
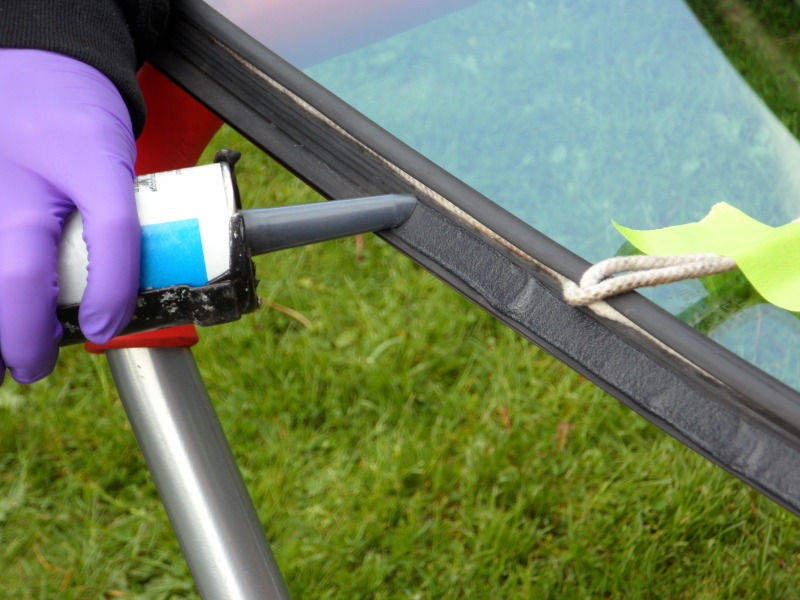
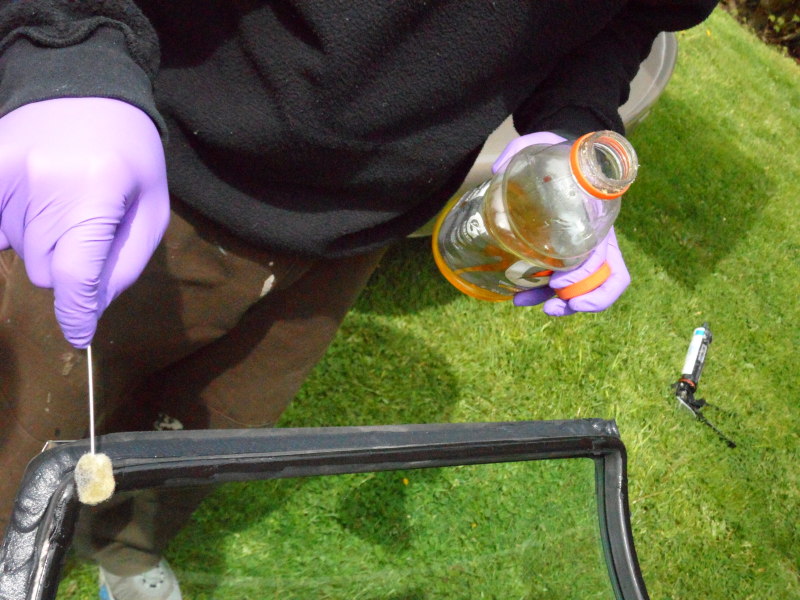
He filled the part of the gasket that would lay against the outside of the body with this stuff
He also coated the inner portion of the gasket with linseed oil to make it slippery so that it would slide into place easier
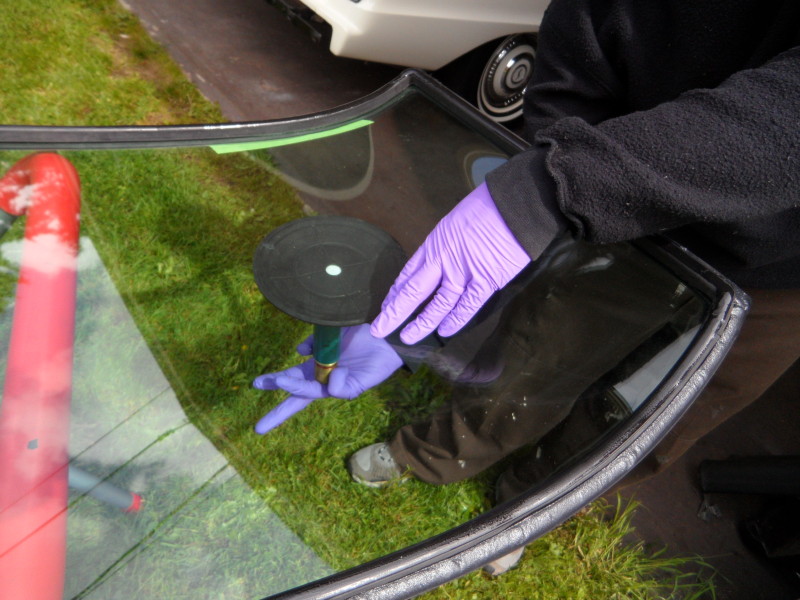
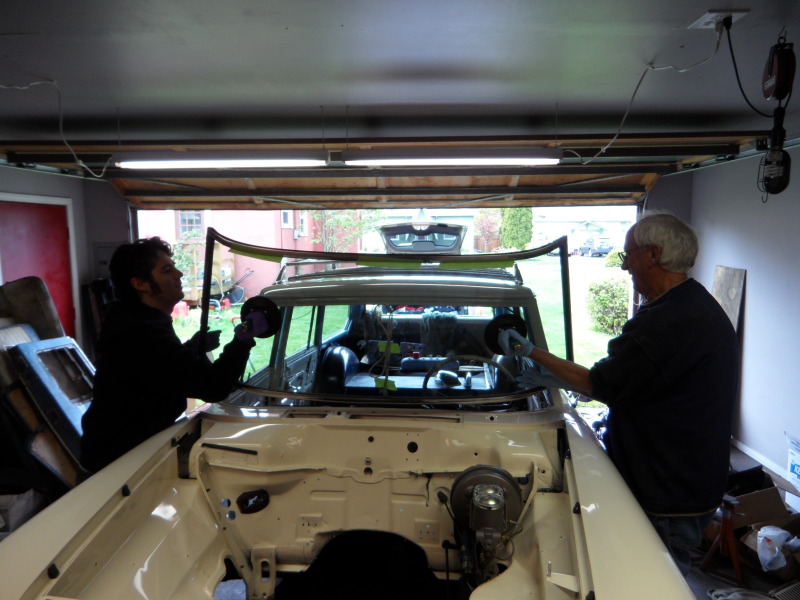
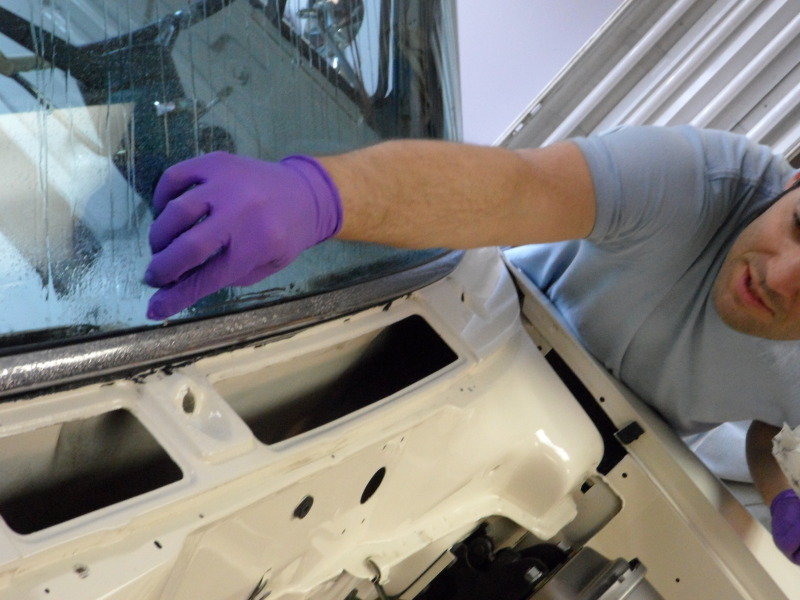
These rubber suction cups are magic! Adam put them into place then worked the little pump on them to firmly attach them to the glass
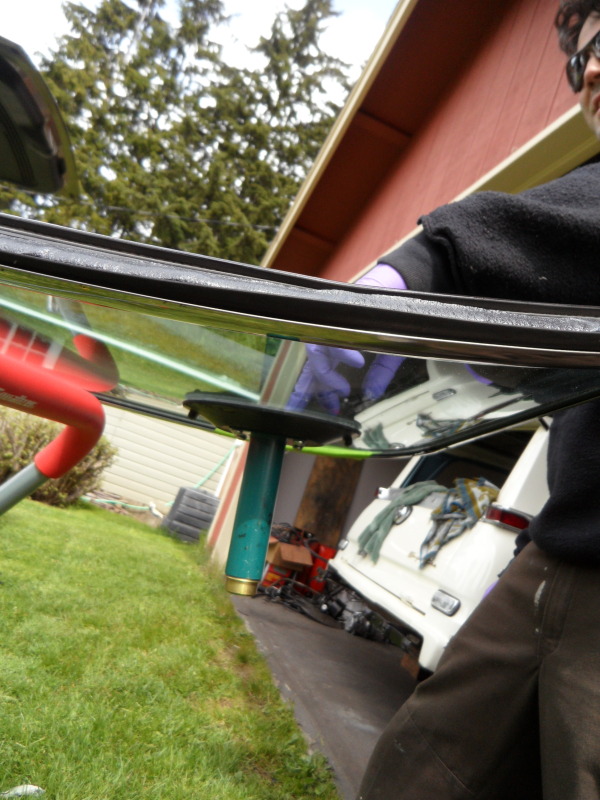
Ready for the scary part. Adam carried the assembly to the car. I am supposed to catch the other end!
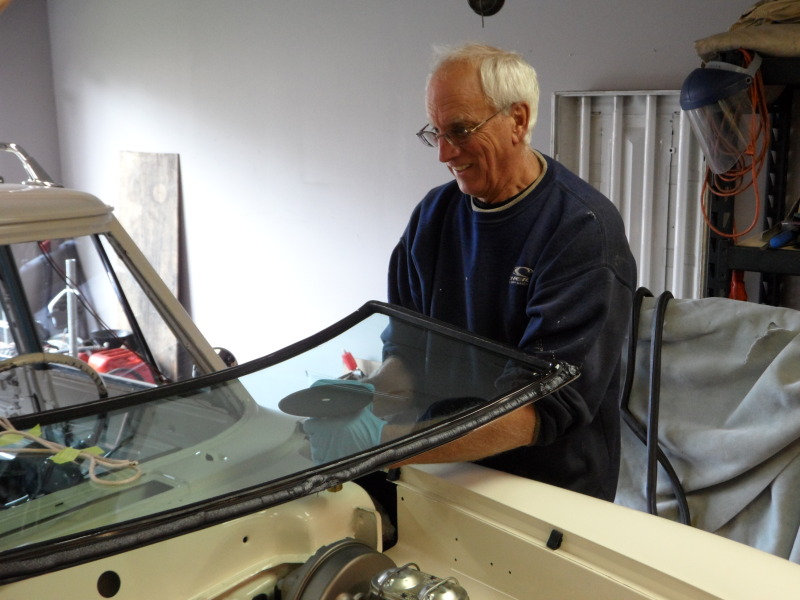
Once in place, my job was to climb into the engine compartment and hold it there. I think this was mainly Adams way of keeping me occupied and out of the way
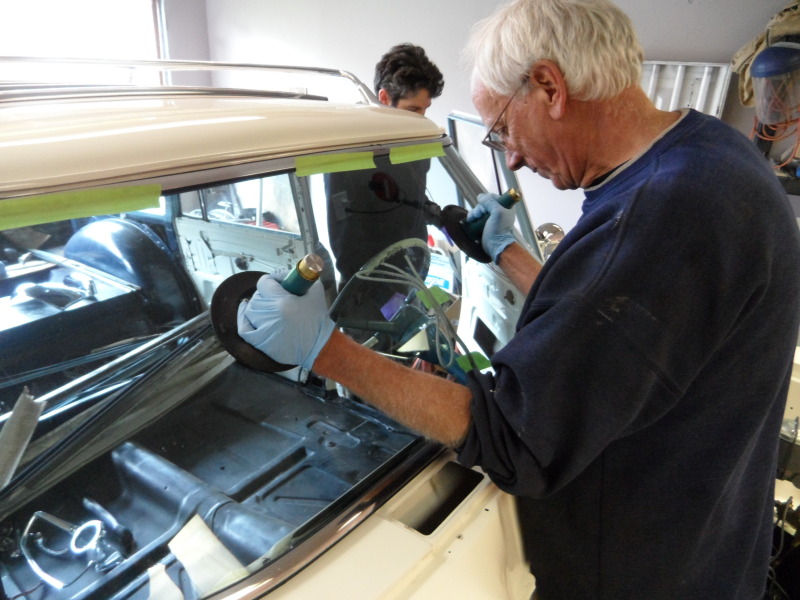
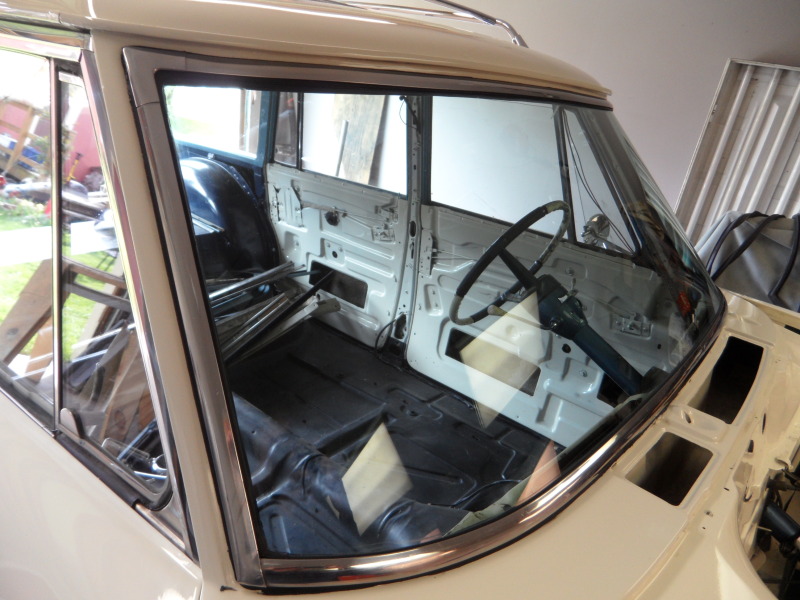
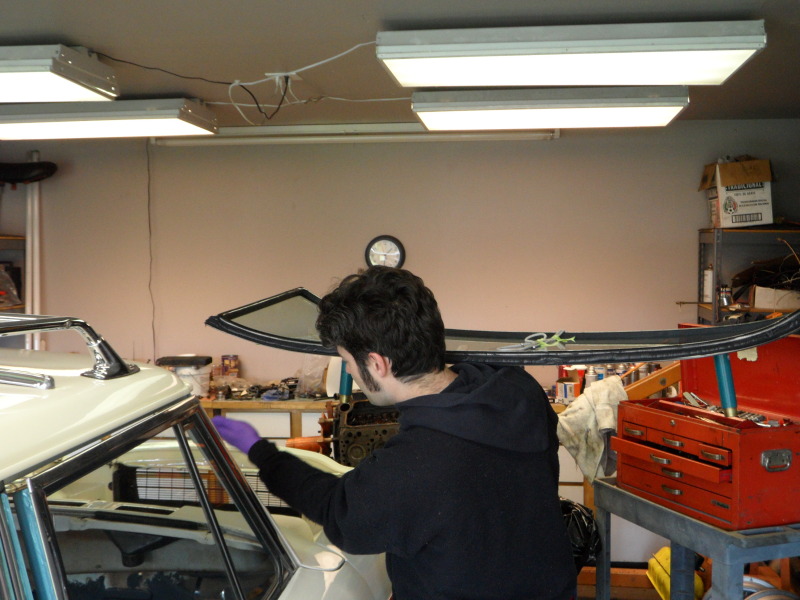
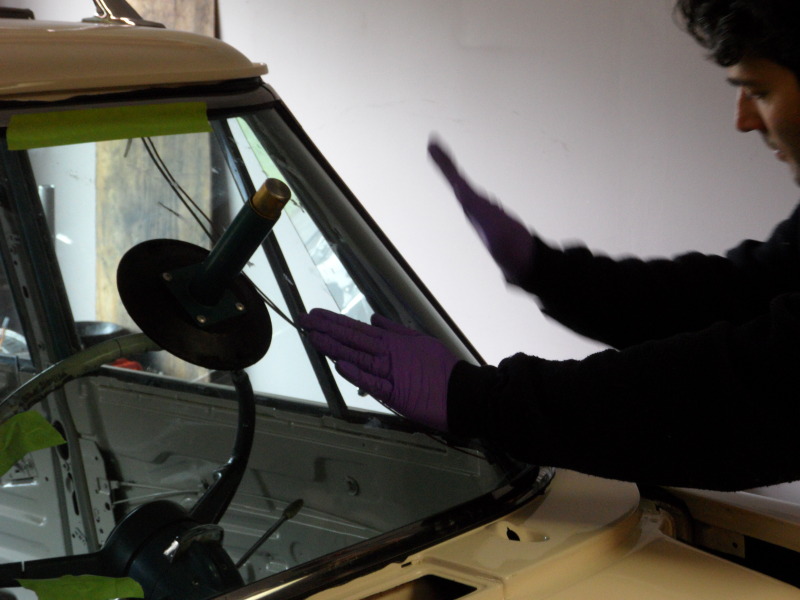
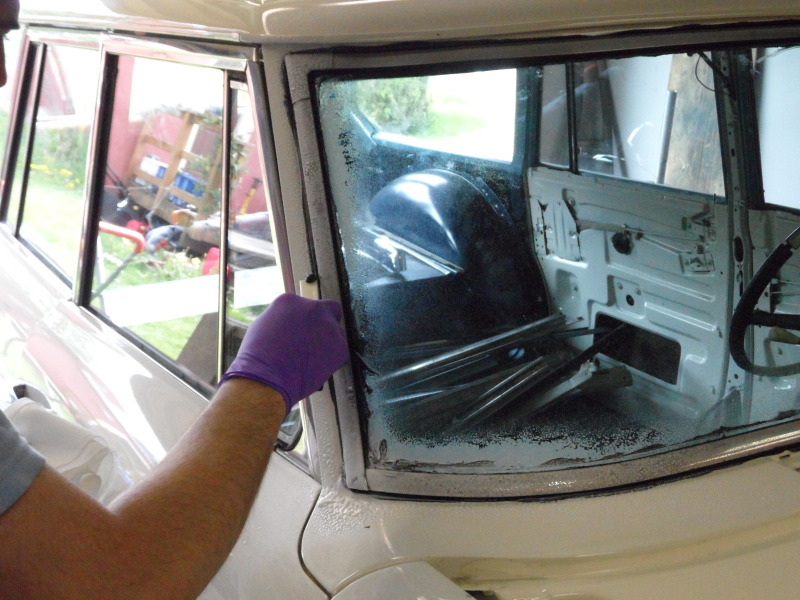
Adam pulled the rope and the lip of the gasket fell neatly into place

He slapped the windshield with his palm to fully seat the gasket
Adam then shot a bead of the bedding compound under the windshield side of the gasket
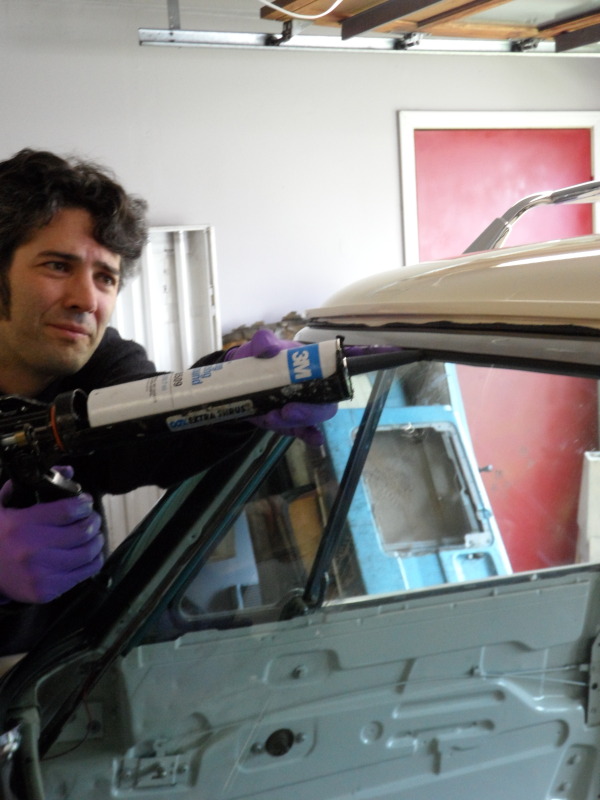
He assured me that gooey mess was a good thing.It showed the gasket was fully sealed to the body and to the glass
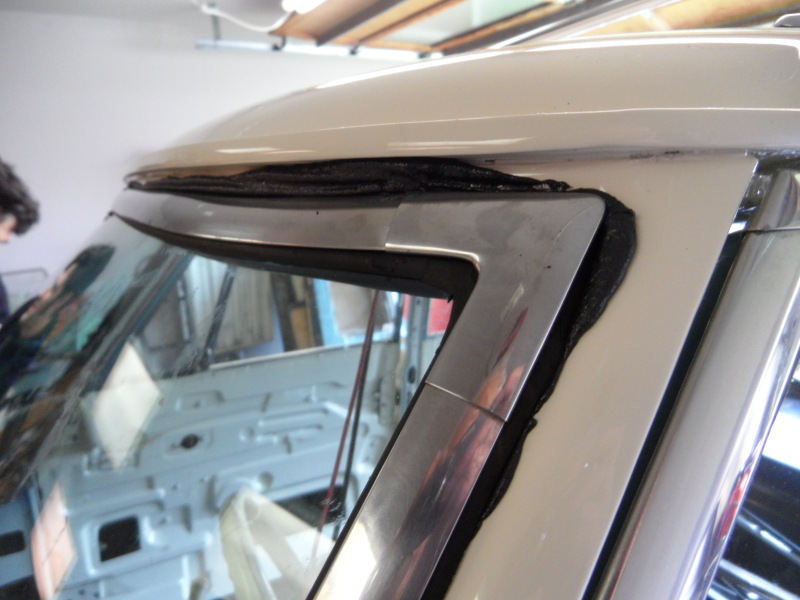
Cleaning up the gooey mess took less time than I would have thought. First glass cleaner and a plastic knife
Then a razor blade on the glass side
Then some solvent on a clean rag
Done!